WebMail
  LiveChat
  Support
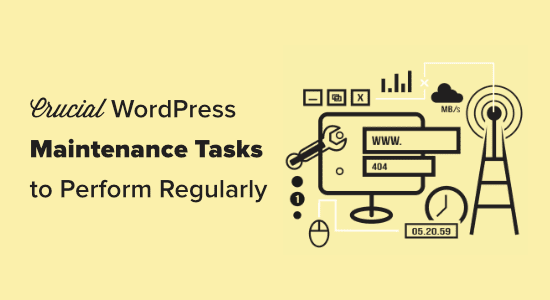
13 Crucial WordPress Maintenance Tasks to Perform Regularly
Ever wondered which important maintenance tasks you should perform regularly on your WordPress site?
Routine WordPress maintenance tasks take very little time, but they ensure that your site is secure, safe, and running at peak performance.
In this article, we will share the most crucial WordPress maintenance tasks to perform regularly, and how to do each one of them.

Why and When to Perform WordPress Maintenance Tasks
Your WordPress site is a powerful system made of several parts. This includes your WordPress hosting, the WordPress software itself, plugins, and themes.
On top of that, you add your own content with text and images. Together, all of these make a website that is loved by your visitors and customers.
After starting a blog or website, many website owners do not perform maintenance checks unless something breaks.
However, if you want optimal performance, then you need to perform simple maintenance tasks on a regular basis. These maintenance tasks ensure that your website is always in the best shape.
How often should you perform WordPress maintenance tasks?
If you run a busy website with a lot of traffic, then you should go through this maintenance checklist every three months. For smaller websites with low traffic and content, you need to do these maintenance tasks every six months.
Let’s take a look at the essential WordPress maintenance tasks you need to perform and how to do them. You can use these quick links to jump straight to each task.
- Change All Your WordPress Passwords
- Create a Complete Backup of Your Website
- Check and Update All WordPress Files
- Check and Delete Spam Comments
- Test All Your WordPress Forms
- Optimize Your WordPress Database
- Run Performance Tests
- Find and Fix 404 Errors
- Find and Fix Broken Links
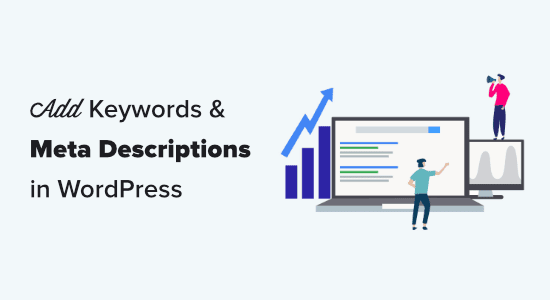
- Perform a Thorough Content and SEO Audit
- Optimize Images on Your WordPress Site
- Review WordPress Security Logs
- Troubleshoot Maintenance Tasks
1. Change All Your WordPress Passwords

Passwords are your first defense against unauthorized access to your website. You should always use strong unique passwords for all your online accounts. These include your WordPress website, FTP accounts, and database.
However, even if you are using strong passwords, they could be compromised without you even knowing.
That’s why WordPress security experts recommend changing your WordPress passwords regularly. This includes passwords for your WordPress admin area, FTP or SSH accounts, and your WordPress database password.
For more help, check out out our beginner’s guide to changing your password in WordPress.
The problem with strong passwords is that they are harder to remember. This is why we recommend using password manager apps like LastPass to securely store and easily fill passwords without having to type them.
For details, see our guide on the best ways to manage WordPress passwords.
2. Create a Complete Backup of Your Website

Backups are one of the most important WordPress plugins in your arsenal.
There are plenty of great WordPress backup plugins like UpdraftPlus or BackupBuddy. These can help you completely automate the WordPress backup process.
However, sometimes your backup solution may suddenly stop working without you even noticing.
Once in a while, you need to manually run your backup plugin to create a complete backup of your website. After running the backup, check that your backup files are properly stored at the remote location of your choice (Dropbox, Google Drive, etc).
3. Check and Update All WordPress Files

WordPress comes with a built-in system to manage updates for WordPress core, plugins, and themes. You should always update WordPress to use the latest version as well as keeping all your plugins and themes updated.
With that said, there are some situations when you may miss an update. For example, when a premium plugin or theme’s license expires, it may fail to check for an update.
Go to the WordPress Updates page to manually check for updates. Review all your installed plugins and themes to make sure that they are running the latest version. If they’re not, then make sure to document a reason why you’re choosing not to update.
4. Check and Delete Spam Comments

Many website owners use Akismet to combat comment spam in WordPress. It automatically keeps spam away from your comment moderation queue.
However, sometimes Akismet may end up marking a legitimate comment as spam. Once in a while, you need to take a quick look at the spam comments to ensure that there are no real comments incorrectly marked as spam.
Once you are done, you can safely delete all spam comments from your website. If you have thousands of spam comments, then you should batch delete all spam comments in WordPress.
It will not necessarily improve performance, but it will ensure that you don’t miss genuine comments.
5. Test All Your WordPress Forms

WordPress form builder plugins like WPForms make it super easy to create beautiful forms on your website.
However due to misconfiguration on your WordPress hosting server or your email service provider, sometimes these forms may suddenly stop sending emails.
You need to check all forms on your website to make sure that they are working properly. If a form is not working, then see our guide on fixing the WordPress not sending email issue.
As a best practice, we recommend using WP Mail SMTP plugin because it has email logging, and it will alert you when an email fails to send.
6. Optimize Your WordPress Database

WordPress stores most data in your WordPress database. It contains all your content, comments, users, and settings.
Over time, your database may gather a lot of unnecessary data. This increases your WordPress backup sizes which may affect uploading, downloading, and restoring backups.
Optimizing your WordPress database allows you to clean up clutter, defragment tables, and improve database performance.
For step by step instructions, see our guide on how to optimize your WordPress database with one click.
7. Run Performance Tests

Many users optimize their WordPress performance when they first start their website, and then forget about it.
As time goes by, you add new content, install new plugins, or may even change the theme. All of these items may affect the performance of your WordPress site.
Faster websites are not just good for user experience, but they also improve your SEO rankings. This is why you need to regularly do a thorough performance review of your website.
When reviewing your site’s performance, don’t just limit it to improving your homepage. Also test your most popular content and all your important pages.
For best results, follow our step by step guide to boost WordPress speed and performance.
8. Find and Fix 404 Errors

When a user requests a page that doesn’t exist on your website, then WordPress will show them a 404 error page.
404 errors that occur because a user mistyped an address are normal and nothing to be worried about. However, 404 errors that occur because a page is no longer available are frustrating for users and create a bad user experience.
If you are not already tracking 404 error pages, then see our guide on how to easily track 404 error pages in WordPress and redirect them.
9. Find and Fix Broken Links

As your website grows, you will realize that some external websites that you linked to in your older articles do not exist anymore. Some may have moved to new locations, while others may just disappear.
The broken links issue is not just limited to external links. You might accidentally add broken images, poorly formatted links, or misspell your own links. This can be frustrating for your visitors and harms your site’s user engagement.
You need to check your website for broken links as part of your WordPress maintenance routine. For instructions, see our guide on how to find and fix broken links in WordPress.
10. Perform a Thorough Content and SEO Audit

The next thing you need to include in your regular maintenance tasks is a thorough in-depth review of your content. This is where the data from Google Search Console and Google Analytics comes in.
Google Analytics shows you where your visitors are coming from and what they are doing on your website. This data allows you to discover content on your website where you have lots of traffic but your conversion rate is low.
Google Search Console’s Search Performance page can help you find search keywords where your site appears in the results. You can sort it to show you keywords where your site can easily rank higher by updating those articles.

If you are using All in One SEO, then you can set a particular keyword as your focus keyphrase. All in One SEO will give you a True SEO Score plus specific optimization tips.

Even with an excellent SEO score, you can still further improve your content. Try adding new information, adding images, and linking to it from other pages on your website.
For more SEO tips, follow our ultimate step by step WordPress SEO guide for beginners.
Pro Tip: You can use a tool like SEMRush to run automatic website audits. This is what we use on WPBeginner.
11. Optimize Images on Your WordPress Site

Images take longer to load than text. This means they decrease your page load speed. You will discover some overly large images during the performance checkup of your site.
However, you will likely miss those in your less popular articles. If you run a multi-author WordPress site, then some of your authors may not be as careful about image sizes as you are.
Reviewing your images and media library allows you to stay on top of the issue. You can perform this check to find images that can be reduced in size or images that are just too large.
For more information, see our guide on how to save images optimized for the Web.
12. Review WordPress Security Logs

Some WordPress users don’t realize that their site is under attack until it slows down or their search rankings drop.
We have already mentioned some security precautions like changing passwords, and creating manual backups as proactive measures. You also need to review your site’s access and error logs to see if there is any unusual activity on your site.
Another good option is to add a security audit plugin to your site.
We also recommend using Sucuri. It is a website security company that offers a website firewall to protect your website against common threats.
For a complete security audit of your WordPress site, follow the instructions in our step by step ultimate WordPress security guide.
13. Troubleshoot Maintenance Tasks

Most WordPress website maintenance tasks are quite harmless and will not affect your website’s normal functioning. However, some may slow down your site, like checking for broken links or running an image optimizer plugin.


 into All in One SEO")


")